

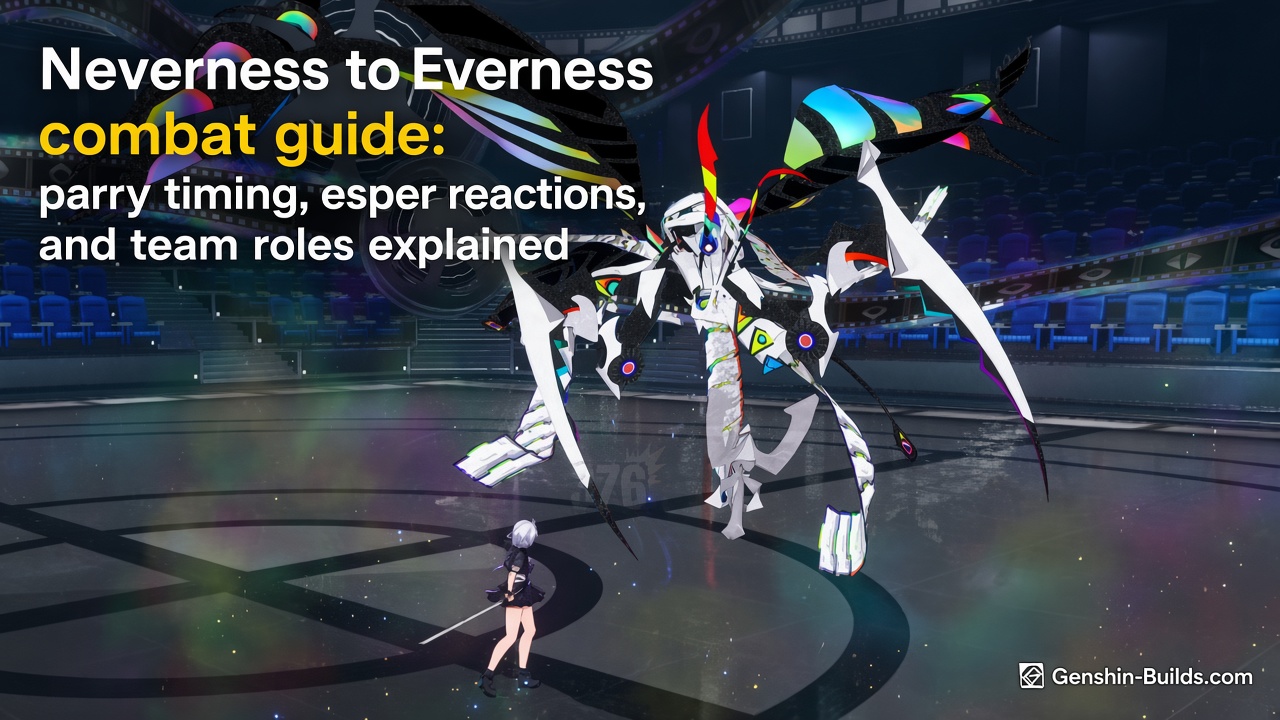
Neverness to Everness combat guide: parry timing, esper reactions, and team roles explained
Neverness to Everness does not let you win by mashing the attack button. The game’s combat system asks for precise timing, smart character swaps, and a team built around elemental reactions that trigger when you swap at the right moment. For anyone moving past the early story fights, two systems matter more than anything else: parrying and the Esper Cycle.
What the Esper Cycle meter does
Every character in NTE carries a gauge next to their health bar and ultimate meter. That gauge changes color based on the character’s element. When it fills completely, certain characters on your team start glowing. Swap to one of them at that moment, and you trigger an Esper Cycle reaction — an elemental combo that does something specific depending on which two elements meet.
The gauge does not fill at the same speed for everyone. Each character has a stat called Cycle Rate that determines how fast they charge it. A character with a Cycle Rate of 100 can fill the gauge with a single skill use, which makes them extremely useful for setting up quick reactions. Characters with lower rates need more attacks or skills to reach full charge.
There are three ways to build the meter:
- A successful parry fills it completely in one go.
- Landing regular attacks gives a smaller boost.
- Using a skill also adds a smaller boost.
The fastest way to charge is to parry, but that requires perfect timing. The safer approach is to build meter through skills and attacks, then save parries for moments when you need an instant full gauge.
The three Esper Cycle reactions
Each reaction combines two elements and produces a different effect. Here is what they do:
- Blossom (Cosmos + Anima): spawns a sentry gun that fires area damage every two seconds. Good for sustained pressure against groups.
- Remora (Lakshana + Cosmos): marks a target for five seconds and slows both its movement speed and attack speed. Useful against fast enemies or bosses that hit hard.
- Nova (Chaos + Psyched): marks a target for five seconds, then deals a large chunk of Cognito damage. This is the burst option for single-target elimination.
None of these reactions are universally better than the others. Blossom works best when you need area control, Remora helps against aggressive enemies, and Nova is for focused damage. A team built around two or three of these reactions gives you options for different situations.
Parrying: the mechanic that changes fights
Parrying is a timing check. When an enemy attacks, two warning rings appear and begin to overlap. You need to attack exactly when those rings line up. Hit the timing right, and your character dodges the incoming hit, breaks the enemy’s stance, leaves them open for a counterattack, and fills the Esper Cycle meter to max.
That is a lot of value from one input. A single well-timed parry can set up an immediate Esper Cycle reaction, which means you can go from defending to dealing a Blossom, Remora, or Nova in seconds. Against higher-level anomalies, this sequence is often the difference between winning and losing a fight.
The catch is that parrying takes practice. The timing window is not generous, and enemy attack patterns vary. The best place to practice is in the character trials, where you can repeat fights without penalty until the timing clicks.
Building a team that works
NTE teams have four slots, and each slot has a recommended role. Here is one way to fill them:
- Main DPS: Chiz or Skia
- Sub-DPS: Daffodill or Zero
- Tank: Fadia or Adler
- Healer: Edgar
These are not the only options, but they cover the basics. The main DPS deals most of the damage. The sub-DPS adds pressure and can trigger reactions. The tank absorbs hits and creates openings. The healer keeps everyone alive through longer fights.
What matters more than individual character power is elemental variety. Each team member should use a different element so you can activate multiple Esper Cycle reactions. If every character shares the same element, you lose access to most of the reaction system.
S-class characters generally have higher stats and stronger skills, but an A-class character with the right team and good equipment can still perform well. Rarity matters less than synergy.
What free-to-play players should focus on
If you are not spending money on pulls, the advice is straightforward: build characters you actually enjoy playing. Force yourself to use a character you dislike just because they are S-class, and you will burn out fast.
Equip your chosen characters with Arcs and Consoles that match their roles. A healer needs different stats than a main DPS, and the equipment system reflects that. Level up your team evenly instead of pouring resources into one character.
Practice parrying in trials until the timing becomes reflex. A free-to-play player who parries consistently will outperform a paying player who does not, because parrying bypasses stat checks entirely. It does not matter how strong the enemy is if you never get hit.
Other things worth doing
- Open the Esper Cycle menu in-game and read through every possible reaction. Knowing what each combo does helps you plan your team before you start building.
- Keep an eye on patch notes and update announcements. NTE is still adding content, and new characters or balance changes can shift which teams work best.
Mastering parrying and Esper Cycles does not happen overnight. But the system rewards players who learn it: better timing means faster reactions, faster reactions mean shorter fights, and shorter fights mean fewer chances for the enemy to hit back.