

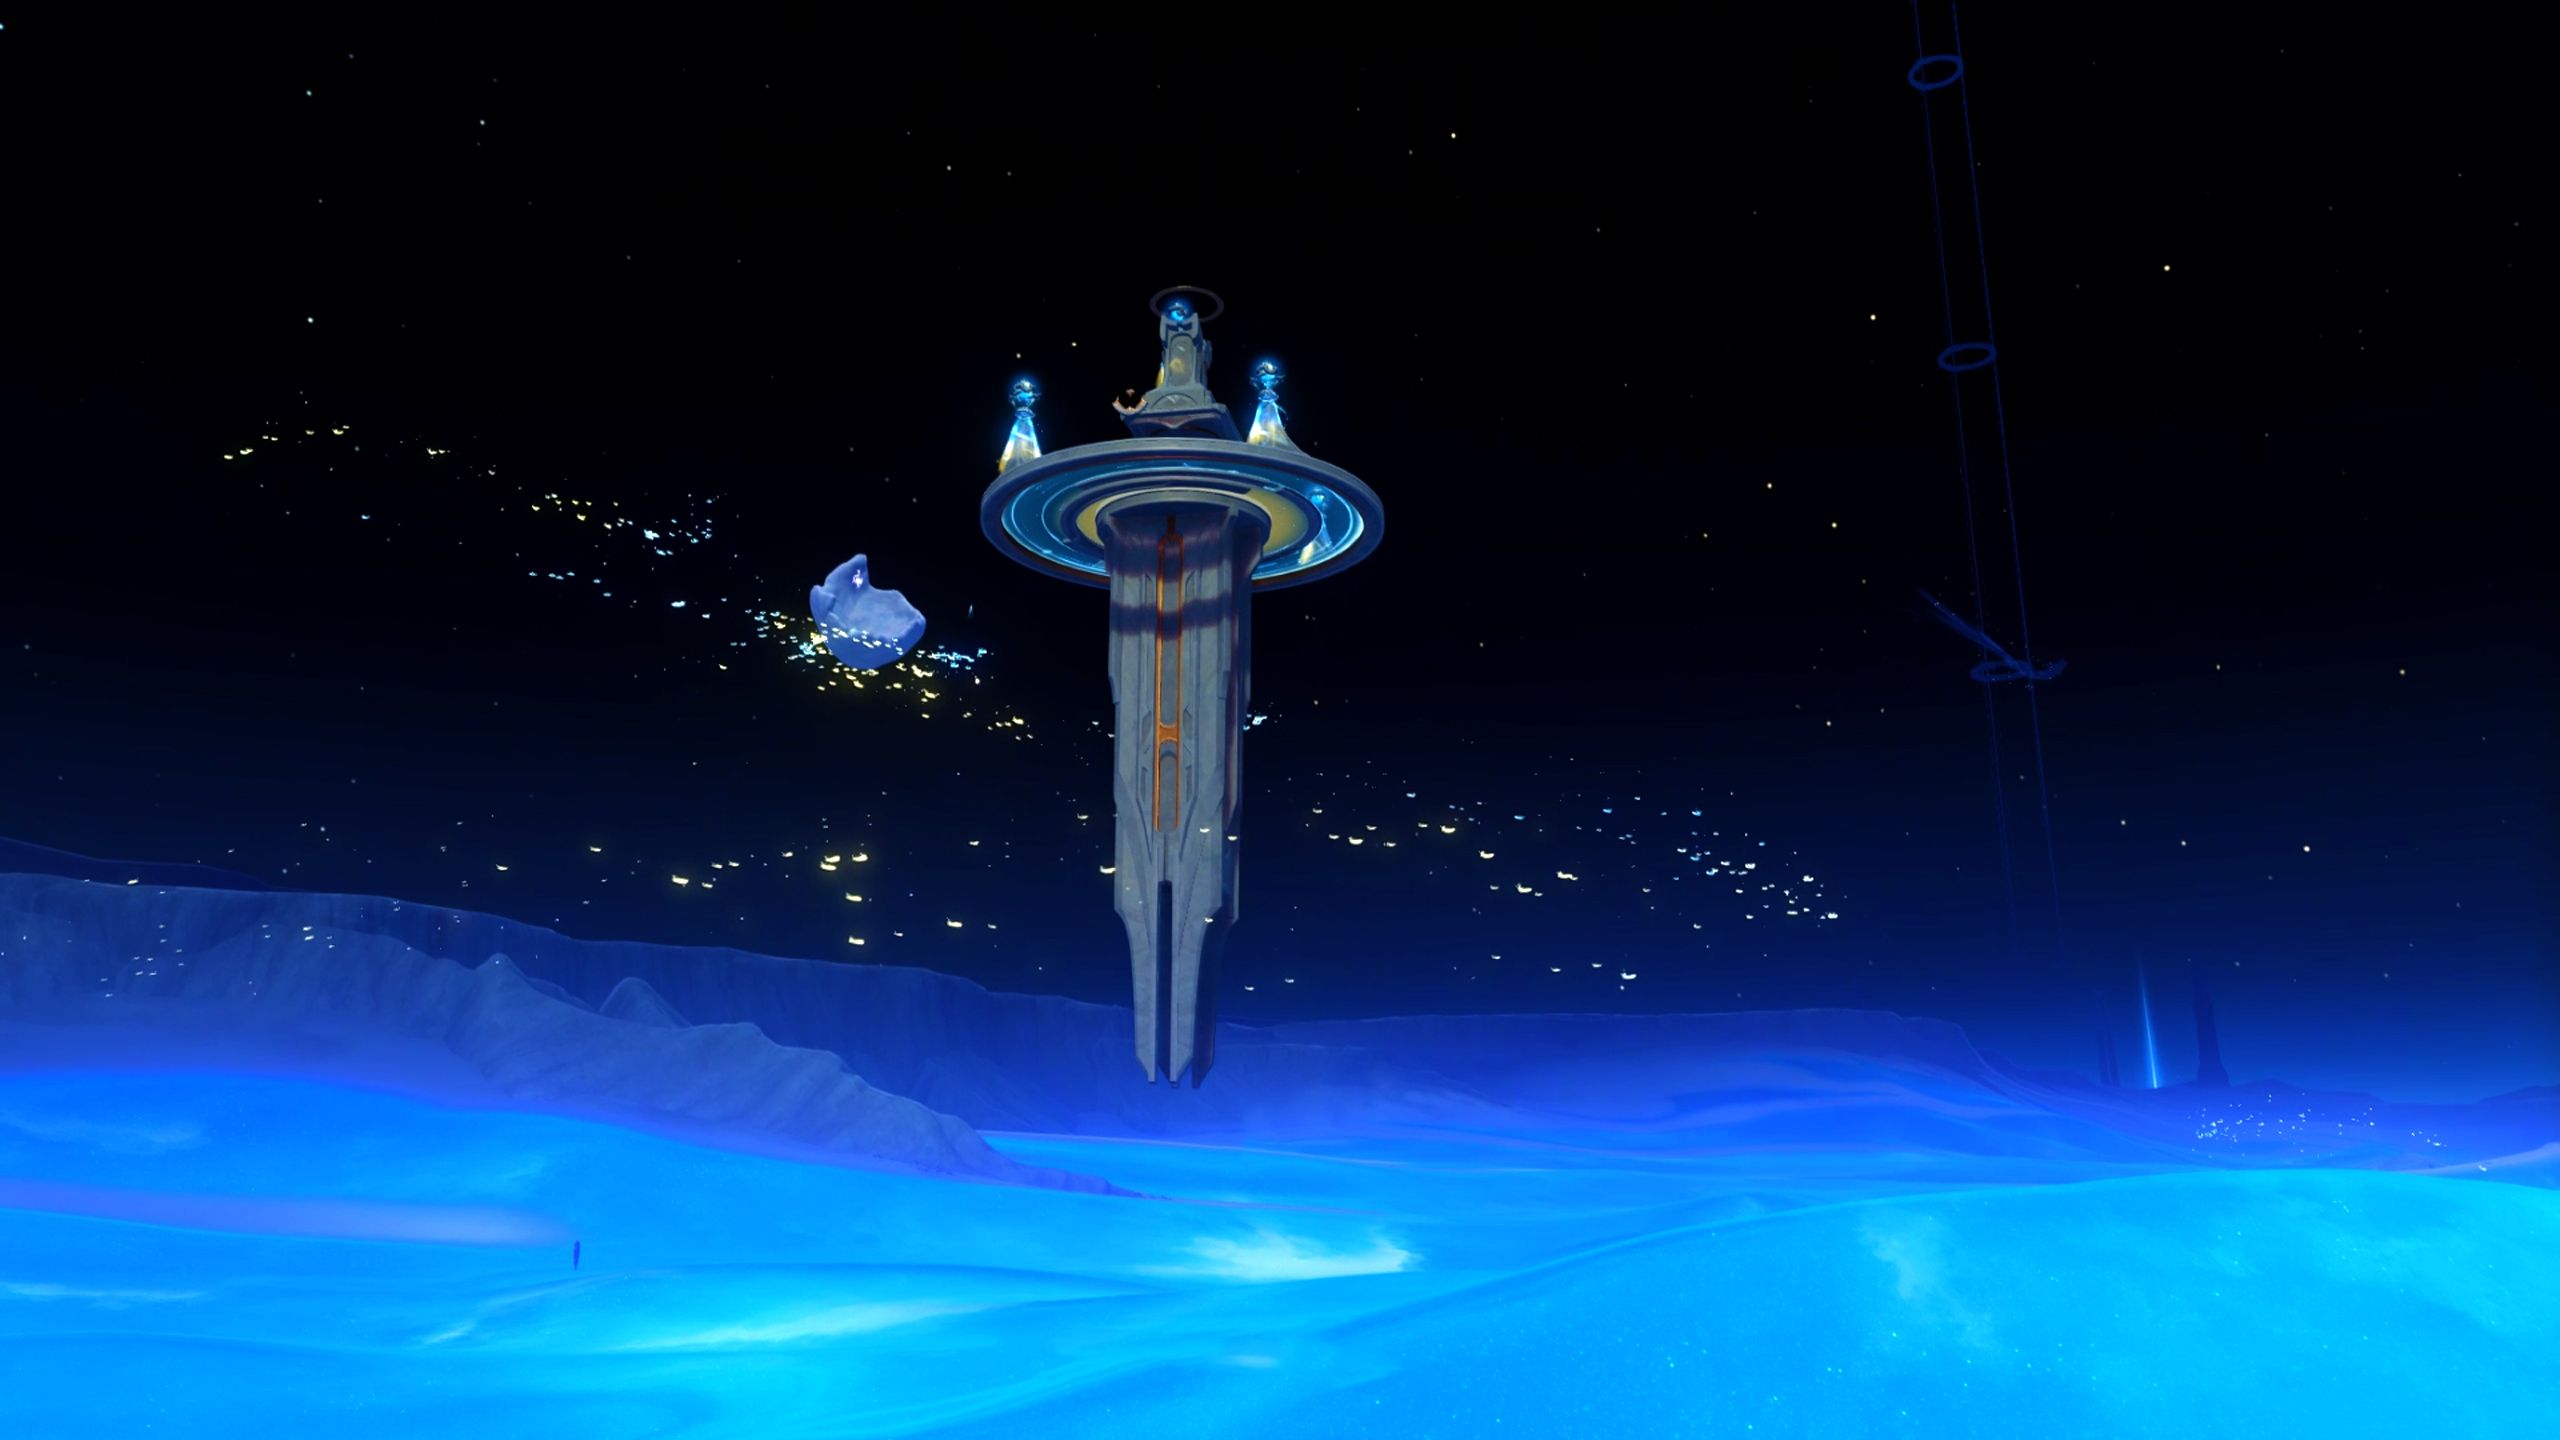
How to Complete the Moontide Sea Puzzle in Genshin Impact: A Full Walkthrough
The Moontide Sea puzzle is a complex environmental challenge in Genshin Impact that provides valuable treasure and helps players progress through the Blue Moon region. Many players find themselves stuck attempting to trigger the various pedestals and floating platforms scattered throughout this zone. This walkthrough will explain how to locate all three Pioneer Source Structures and finish the puzzle with ease.
For more expert tips, visit our comprehensive library of Genshin Impact guides.
Quick Summary
- Objective: Locate and activate three Pioneer Source Structures to trigger the central tower.
- Map Scope: Everything is contained within the Moontide Sea region.
- Loot: A variety of rewards including Exquisite, Precious, and Luxurious chests, plus bonus hidden loot.
- Duration: Approximately 20 to 30 minutes.
- Challenge Level: Intermediate—requires platforming precision and combat skills.
First Pioneer Source Structure: Northern Ruins
Travel to the northern portion of the ruins and utilize the elevator to drop down. Secure the energy from the nearby cube and interact with the adjacent sphere. The sphere will rise but remain incomplete; the missing component is guarded by airborne foes. Head back to the surface using the elevator and engage the enemies to recover the fragment. Upon completion, the structure will autonomously return to the central pedestal.
Second Pioneer Source Structure: Southwest Sector
Starting from the central puzzle hub, head southwest. You will encounter a drifting Pioneer Source Structure equipped with an Ancient Moon Pearl. Drain the energy from this unit to liberate the pearl, then maneuver it to the partially submerged pedestal to reveal a chest. Next, take energy from any available sphere and aim it at the dormant structure nearby. Once powered, it will relocate to the center to occupy the second pedestal.
Third Pioneer Source Structure: Northeastern Ruins
The final component is located in the northeastern ruins. You will face an empty pedestal guarded by two hostile red structures that intercept energy spheres. Travel to the far northeast edge of the ruins to source energy spheres. Carefully push one toward the pedestal while avoiding the red patrol units. After placing the sphere, unlock the large chest to secure an energy source, which you must throw at the inactive structure. This will trigger it to move to the center, finalizing the puzzle.
Technical Issues: If you encounter bugs with energy sphere spawns, try warping to a distant waypoint outside the Blue Moon region and returning. If the problem persists, relaunching the game client should resolve it.
Claiming Your Rewards
Once the cutscene concludes, use the central lift to climb to the top. Claim your Exquisite Chest before turning east toward the floating platforms. Launch energy at the spheres you see to unlock a Precious Chest and a Luxurious Chest. Furthermore, utilize the nearby portal to access a hidden path beyond the map boundaries, where additional Precious and Common chests are hidden.
To further enhance your exploration in this area, check out our guide on unlocking the Golden Hall Teleport Waypoint.
Final Thoughts
Mastering the Moontide Sea puzzle offers a great balance of traversal and combat. Completing it not only opens up a new section of the Blue Moon map but also rewards your efforts with significant loot. Be sure to venture through the secret portal to maximize your rewards.
Stay tuned to GenshinBuilds for more in-depth Genshin Impact strategies.