

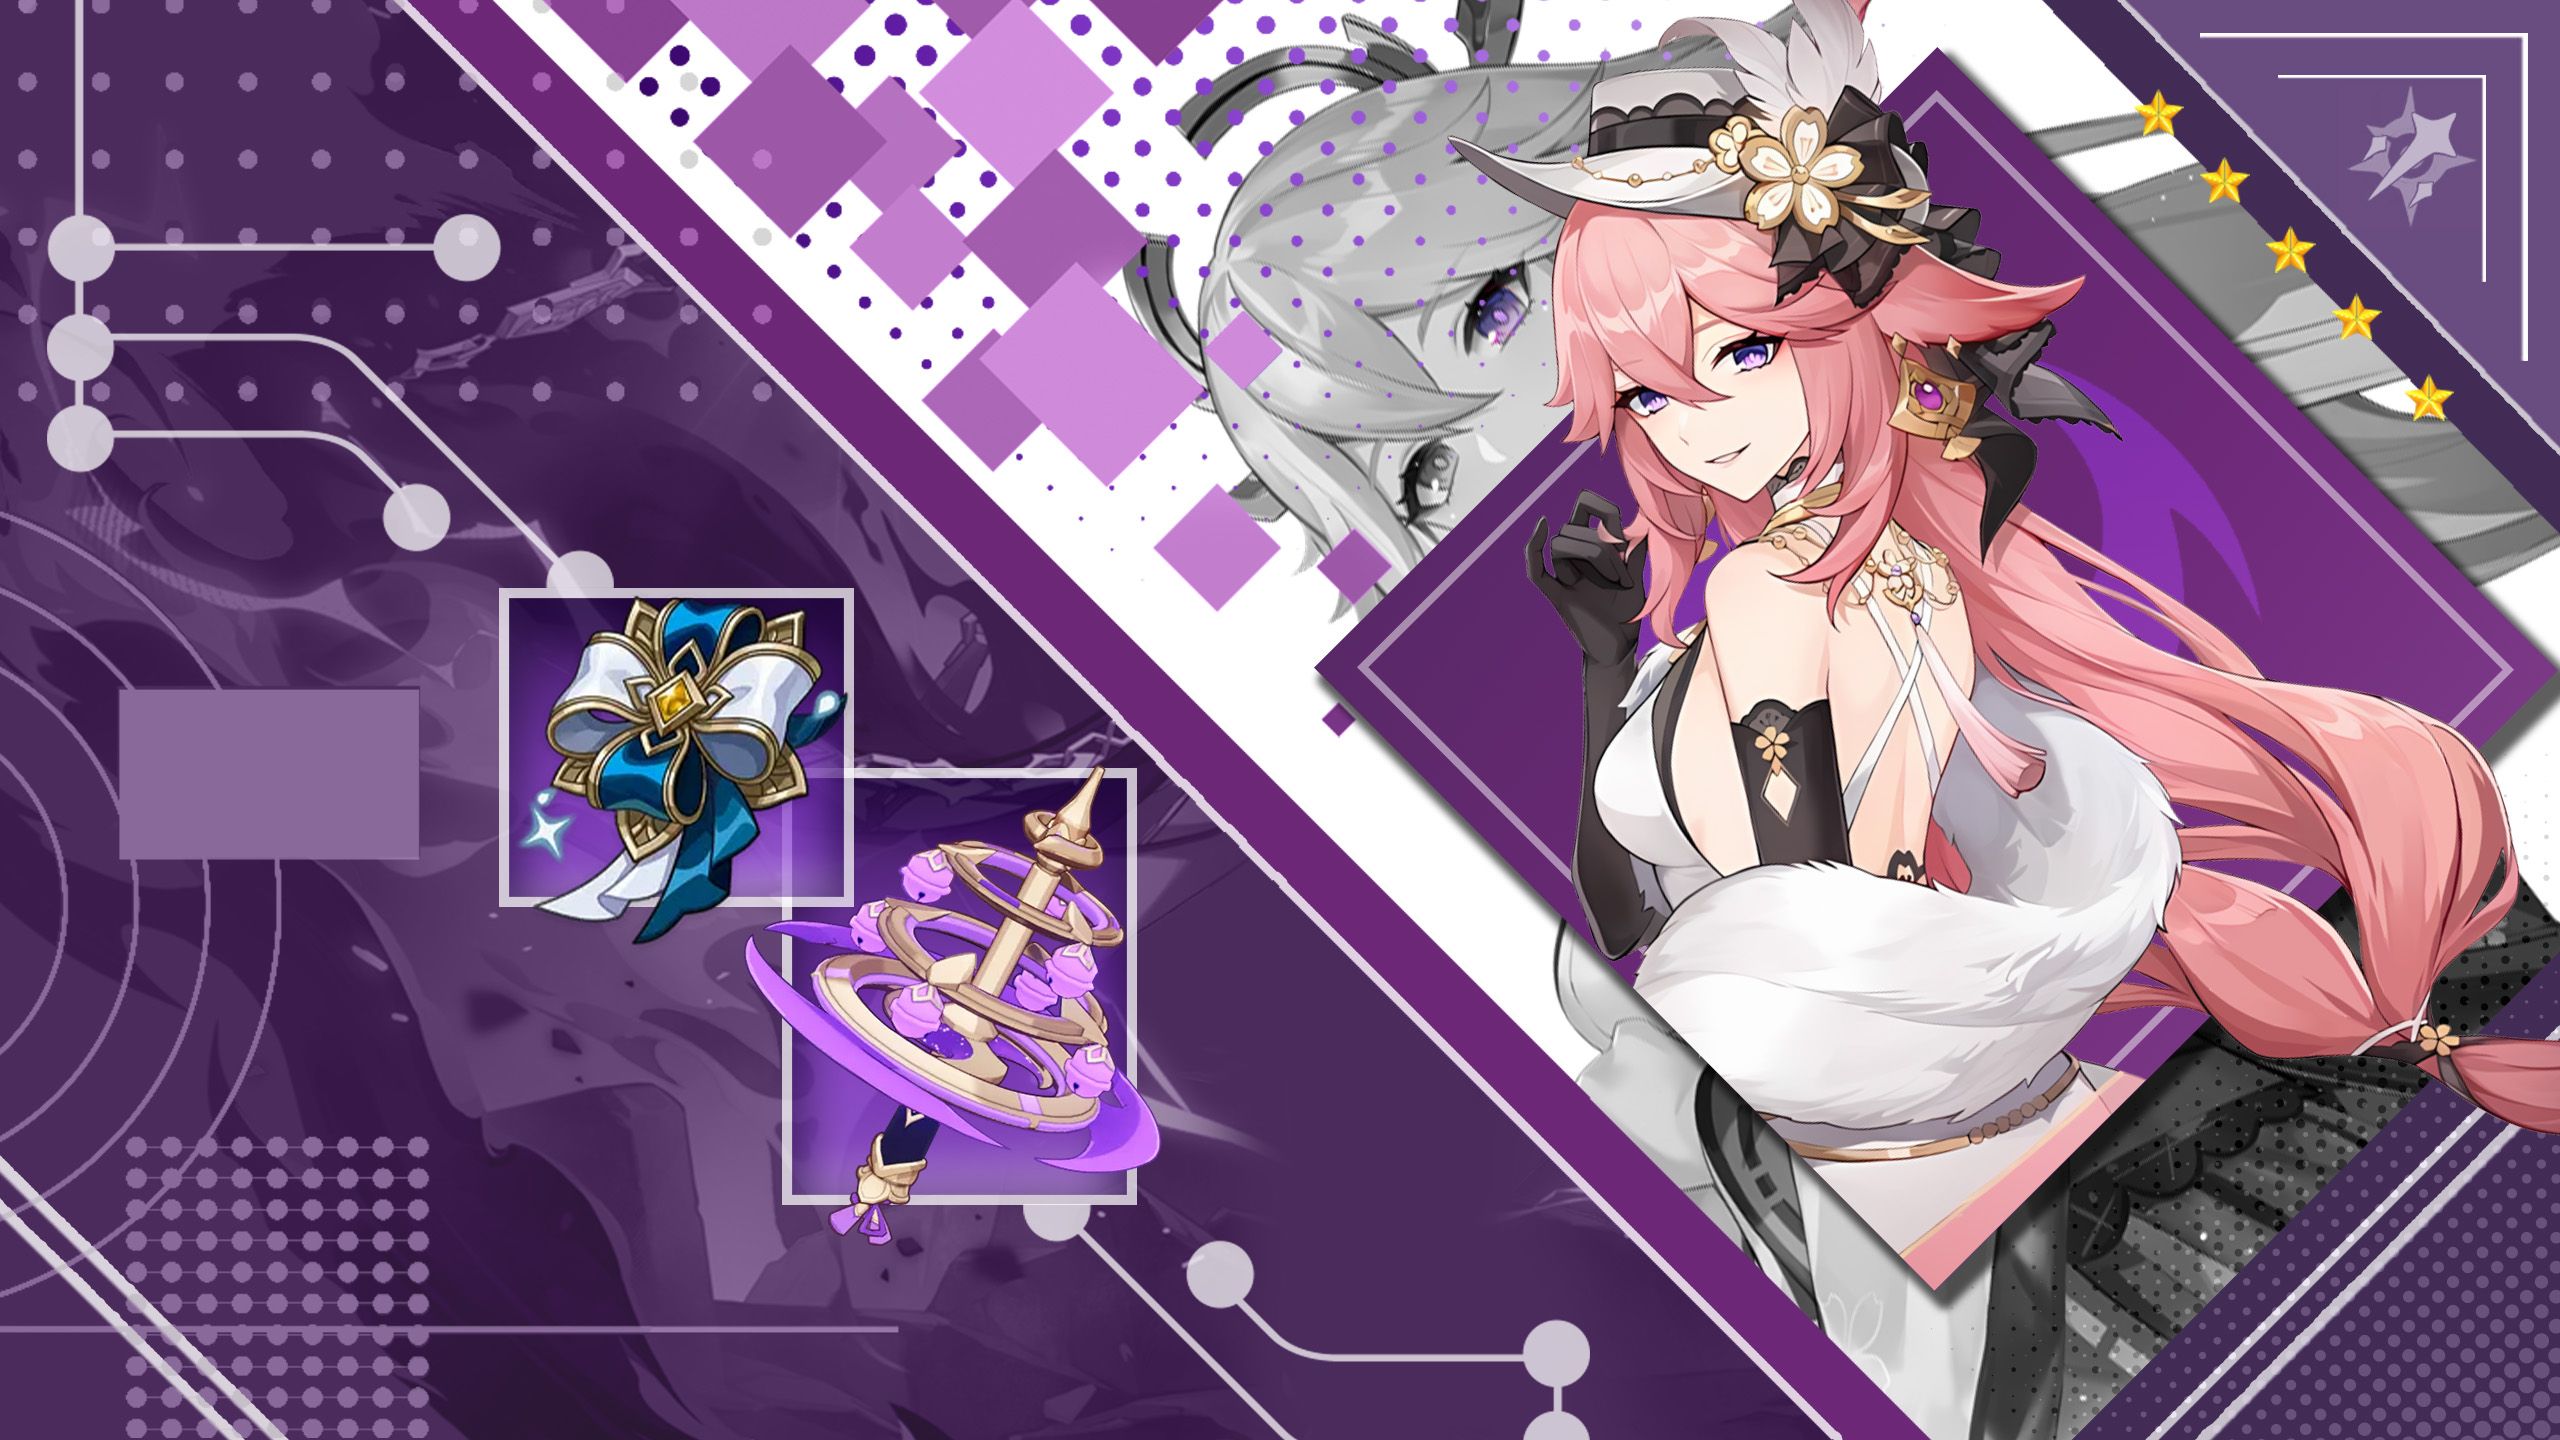
Yae Miko Stellar-Conduct Ultimate Build & Team Guide
Following her major rework in Genshin Impact Version 6.7, Yae Miko transforms into an elite enabler for the brand-new Stellar-Conduct elemental reaction. This comprehensive guide outlines her optimal equipment setup, ideal squad pairings, and accessible free-to-play options to help you extract maximum damage from her kits.
To stay updated with the latest Genshin Impact news and walkthroughs, head over to the GenshinBuilds game hub.
Yae Miko Stellar-Conduct Build: Summary
- BiS Weapon: Kagura’s Verity (Signature)
- F2P Weapon: Echoes of the Heart
- Ideal Artifact Set: Disenchantment in Deep Shadow (4-Piece)
- Primary Stats: Elemental Mastery (Sands & Goblet), Crit Rate / Crit DMG (Circlet)
- Substat Focus: Crit Rate > Crit DMG > Elemental Mastery
- Key Constellations: C1, C2, C6
- Top Team Composition: Yae Miko + Odette + Sandrone + Qiqi (Alternatively: Cryo Traveler + Alyosha + Diona for F2P)
Top Weapon Choices for Yae Miko’s Stellar-Conduct Setup
Kagura’s Verity (5-Star)
| Attribute | Metric |
|---|---|
| Base ATK | 608 |
| Crit DMG | 66.2% |
| Rank 1 Passive | Activating your Elemental Skill triggers the Kagura Dance effect, boosting Elemental Skill DMG by 12% and Stellar-Conduct DMG by 12% over 24 seconds (stacks up to 3 times). Reaching max stacks grants an additional 12% All Elemental DMG Bonus. |
Kagura’s Verity keeps its crown as her premier signature weapon, receiving targeted buffs for the 6.7 update. Its stacking skill enhancements and massive Crit DMG profile cement it as her definitive best-in-slot armament.
Echoes of the Heart (4-Star, F2P Alternative)
| Attribute | Metric |
|---|---|
| Base ATK | 565 |
| ATK% | 27.6% |
| Rank 5 Passive | Triggering any Elemental Reaction grants 120 Elemental Mastery for 12 seconds. Causing a Stellar Glimmer reaction raises Stellar-Conduct DMG by 32% for 12 seconds. These effects can activate even while off-field. |
Serving as the premier F2P choice, Echoes of the Heart delivers a substantial EM boost and reaction multiplier, significantly closing the performance gap with five-star alternatives. It empowers players to pilot Yae Miko effectively in Stellar-Conduct setups without spending primogems.
Best Artifact Choice: Disenchantment in Deep Shadow
| Bonus Type | Effect Description |
|---|---|
| 2-Piece Bonus | ATK +18% |
| 4-Piece Bonus | Raises Superconduct DMG by 80% and Stellar-Conduct DMG by 40%. Striking opponents afflicted by Superconduct or Stellar-Conduct increases CRIT Rate by 16%. |
This artifact set is specifically designed to complement Yae Miko’s updated kit. The four-piece bonus directly amplifies Stellar-Conduct damage while offering a passive crit rate boost that simplifies stat balancing. Focus on Elemental Mastery for your Sands and Goblet to maximize reaction output, and equip a Crit Circlet to round out her stats.
Recommended Team Compositions for Stellar-Conduct
Premium Tier Team: Yae Miko + Odette + Sandrone + Qiqi
This elite lineup utilizes multiple Stellar-Conduct facilitators. Odette and Sandrone seamlessly convert Superconduct triggers into Stellar-Conduct, while Yae Miko’s Sesshou Sakura pillars maintain continuous off-field Electro application. Qiqi rounds out the squad with reliable healing and cryo utility. Combined with party-wide passive buffs to Stellar-Conduct DMG, this stands as one of the strongest meta compositions available.
Free-to-Play Tier Team: Yae Miko + Cryo Traveler + Alyosha + Diona
In this budget-friendly setup, the Cryo Traveler steps in as the primary Stellar-Conduct converter. Alyosha supplies off-field Electro alongside passive healing, while Diona protects the squad with shields, healing, and steady Cryo application. While less flashy, this roster clears high-end content reliably through consistent elemental synergy.
For more lineup strategies, explore the Cyno Stellar-Conduct Guide and the Sandrone Team Building Overview.
Constellation Investment Breakdown
| Constellation | Effect Overview | Investment Priority |
|---|---|---|
| C1 – Yakan Offering | Every Tenko Thunderbolt refunds 8 Energy. Triggering Superconduct/Stellar-Conduct or dealing Stellar-Conduct damage grants the entire party 50% Electro DMG and Stellar-Conduct DMG bonuses for 10 seconds. | High Priority |
| C2 – Fox’s Mooncall | Sesshou Sakura begin at Level 2, with a maximum cap of Level 4 and a 60% range increase. The active hero’s EM scales up by 60 to 200 based on the turrets’ current level. | High Priority |
| C4 – Sakura Channeling | Sesshou Sakura lightning strikes raise party-wide Electro DMG by 20% for 5 seconds and restore 8 Energy (5s cooldown). Elemental Burst DMG receives a flat 100% boost. | Moderate |
| C6 – Forbidden Art: Daisesshou | Sesshou Sakura attacks bypass 60% of enemy DEF, and Stellar-Conduct DMG gains an immense +200% Crit DMG bonus. | High Priority |
Unlocking Constellations 1 and 2 yields the most immediate and impactful upgrades early on. C6 introduces game-changing damage numbers for heavily invested accounts, whereas C4 serves as a comfortable intermediate stepping stone.
Frequently Asked Questions
Q: Is Yae Miko worth investing in for Stellar-Conduct compositions?
Absolutely, especially if you have unlocked other Version 6.7 characters like Odette or Sandrone. Her off-field Electro delivery remains peerless for reaction setups.
Q: Can I run alternative artifact sets instead of Disenchantment in Deep Shadow?
A combination of a 2-piece Thundering Fury and a 2-piece ATK% set works as a temporary placeholder, but transitioning to the 4-piece set provides a massive overall damage upgrade.
Q: What is the optimal rotation for Yae Miko in this team archetype?
Apply Cryo to the target first, deploy Yae Miko’s Elemental Skill three times to set down her turrets, switch to your main field driver (such as Sandrone) to trigger Stellar-Conduct, and unleash Yae Miko’s Burst whenever it is ready.
Concluding Remarks
The Version 6.7 rework establishes Yae Miko as a dominant force in Stellar-Conduct team architectures. Armed with the right gear and tailored artifacts, she effortlessly melts through challenging domains. Free-to-play adventurers have a clear path forward using Echoes of the Heart and accessible squad mates, ensuring she remains approachable for all players. Aim for C1 and C2 if you intend to push her constellations further.
Discover more character deep dives at the Genshin Impact strategy portal.